This is a delicious and comforting festive dessert. I like to serve it warm with a generous glug of Waitrose and Partners No.1 Madagascan Vanilla Custard. Serves 8
Christmas Apple and Mincemeat Pie
Ingredients
200g plain flour
70g instant polenta or medium ground cornmeal
70g light brown sugar
1tsp baking powder
½ tsp fine sea salt
170g unsalted butter, melted
For the filling
600g bramley apples, peeled, cored and chopped
200g Waitrose Christmas mincemeat
70g light brown sugar
½ lemon, juice only
Pinch of salt
To finish
Icing sugar to dust
Equipment: John Lewis & Partners Professional Non-Stick Pie Dish 26cm, greased with butter
Method
Preheat your oven to 180 °C /160 °C fan/Gas mark 4.
Prepare the pie crust by adding the flour, polenta, sugar, baking powder and salt to a bowl and mixing well. Add the melted butter to the dry ingredients and combine with a spoon until no dry bits remain.
In a separate bowl prepare the filling by mixing the chopped apples, mincemeat, sugar, lemon juice and pinch of salt together. Transfer to the greased pie dish. Press the pie crust mixture together roughly into clumps with your hands and scatter over the fruity filling.
Bake in the oven for about 40 minutes, until the crust is golden brown. I placed a tray on the shelf underneath to catch any juice that bubbled over. Leave to cool on a wire rack before serving.
Heat the butter and oil in a shallow casserole or frying pan. When the pan has preheated sufficiently, arrange the slices of mushrooms in the pan so that they are not overlapping. Add the thyme and salt and pepper. Fry until most of the mushrooms are golden and repeat on the other side. Remove from the pan and set aside.
Add more oil to the pan if required and gently fry the shallots/onions until soft. Add in the garlic and cook for 2-3 more minutes before adding back in the mushrooms. Add the wine to the pan and cook until most of the liquid has evaporated. Finally add the cream and cook for a minute or two before reducing the heat.
Add the cooked pasta to the sauce and stir it in to coat the pasta in the sauce. Add a splash of pasta water to loosen the sauce if necessary. Serve with freshly grated Parmesan cheese.
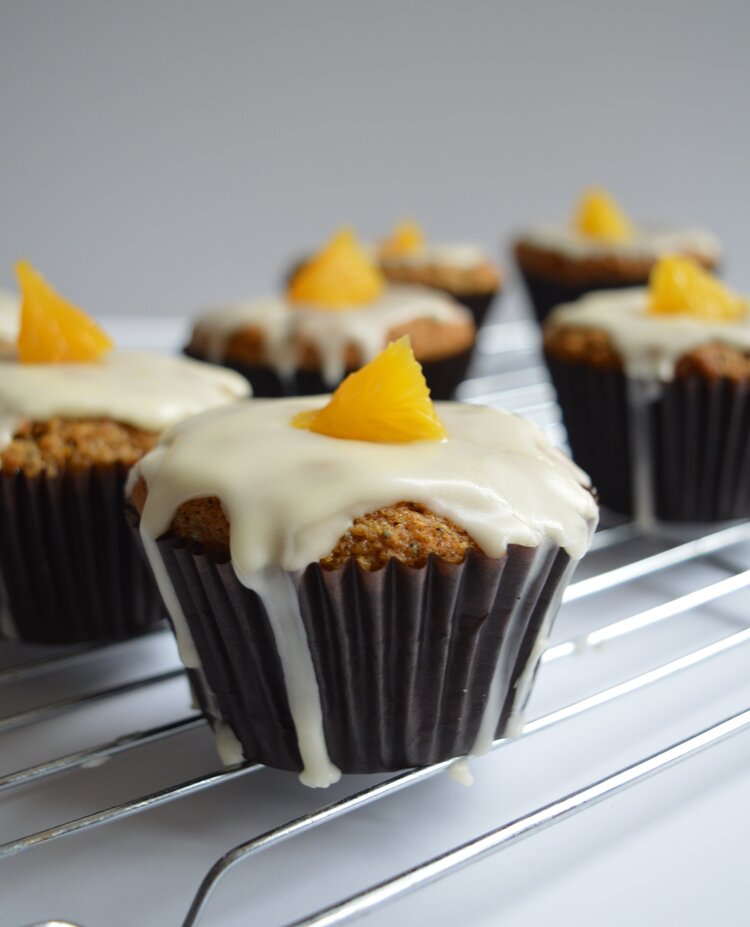
This is one of my favourite Easter recipes, I love the combination of flavours! The buns stay fresh in a sealed container for 3-4 days.
Serves 10
Carrot, Orange and Poppyseed Buns
Ingredients
200g self-raising flour
½ teaspoon bicarbonate of soda
2 teaspoons mixed spice
150g light muscovado sugar
170ml sunflower oil
2 large eggs
200g carrot, grated
2 oranges, zested
2 tablespoons orange juice
1½ teaspoons poppy seeds
For the icing:
200g icing sugar
Orange Juice (amount will depend on if you prefer a runny or thick icing)
Segments of orange to decorate for the ‘egg yolk’ centre
Equipment: 12 cup muffin/cupcake tray
Method
Pre-heat your oven to 160°C fan/180°C conventional oven and line a muffin pan with 10 muffin cases. Sieve the flour, mixed spice and bicarbonate of soda into a large bowl, add the sugar and mix.
In a separate container mix the sunflower oil and eggs to combine. Add this liquid to the dry ingredients, along with the grated carrot, orange zest and juice and poppy seeds. Mix gently until the ingredients are incorporated, don’t over mix.
Scoop the batter into the muffin cases and pop into the oven. Bake for 20-25 minutes. Use a skewer to check if they are ready, the skewer should come out clean if the muffins are baked. If some batter clings to the skewer pop back into the oven for another few minutes and check again.
Leave the buns to cool on a wire rack while you make the icing.
Sift the icing sugar into a bowl. Add two teaspoons of orange juice and mix, keep adding small amounts of orange juice until you get a consistency you are happy with -it should drop from the spoon rather than flow.
Spread the icing over the top of each cooled bun and leave to set. To finish pop a small segment of orange on top of each muffin to give the egg looking top, perfect for Easter!
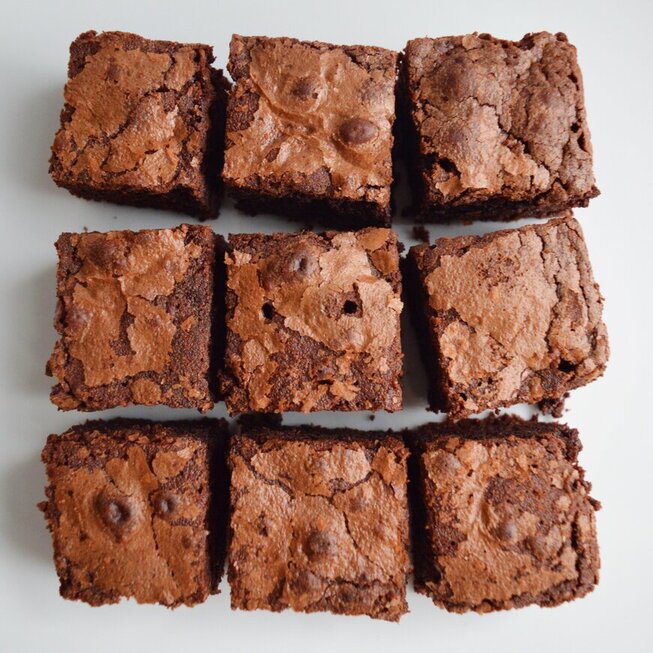
This is a year round favourite in my house, and is often made by David to bring in to share with his office colleagues. Serves 9
Nutella Brownies
Ingredients
65g plain flour
50g cocoa powder
½ teaspoon baking powder
A pinch of table salt
170g caster sugar
170g unsalted butter, melted and cooled
3 medium eggs
½ teaspoon vanilla extract, optional
250g Nutella
Equipment: 21cm square baking tin
Method
Preheat your oven to 200°C/180°C fan/gas mark 6. Grease and line 21 cm square tin with butter and baking paper. Alternatively use a rectangular 28 x 21cm tin and pack one end with some tin foil to create a square space.
Put the flour, cocoa, baking powder and salt to a bowl, mix and set aside.
Put the sugar in the bowl of the stand mixer. Add the cooled melted butter and combine with the whisk attachment. Add the eggs one by one, ensuring that each egg has been well mixed in before adding the next. Mix in the vanilla extract if using.
Next add in half of the Nutella and mix for a few moments until combined. Add in the remaining Nutella and mix well to get a consistent batter.
Change to the paddle attachment. Sift in the flour, cocoa, baking powder and salt and mix gently on a low speed to combine all the ingredients. Don’t overmix!
Pour the mix into the lined tin and bake for 10 minutes at 200°C/180°C fan/gas mark 6. After 10 minutes decrease the temperature to 180°C/160°C fan/gas mark 4 and bake for another 25-30 minutes. You want the centre of the brownie to be soft but not wet. Leave to cool in the tin for 10 minutes before transferring to a wire rack to cool completely. Remove the baking paper and cut into 9 squares.
These candied blood orange slices make a really lovely finishing touch to a cake or tart! They can be made a few days in advance and stored in an airtight container. You can candy other citrus fruits such as lemons and limes using the same method. Boiling the slices beforehand reduces the bitterness in the peel.
Candied Blood Orange Slices
Ingredients
10-15 thin slices of blood orange, about 2mm thick
150g caster sugar
2 cups of water
Saucepan of boiling water
Bowl of iced water
Equipment: a wide heavy bottomed pan or shallow cast-iron casserole
Method
Add the slices to the boiling water and boil for 1 minute. Drain and transfer the slices to the iced water to cool.
In a wide pan, add the 2 cups of water and caster sugar and bring to a boil ensuring all the sugar has dissolved to make a simple sugar syrup, stir occasionally.
Reduce the heat to medium/low and add the blood orange slices in a single layer. Simmer gently for about 50 minutes or until the blood oranges slices are translucent.
Place on a wire rack to cool and use straight away. Alternatively, store the slices and sugar syrup in a jar and keep in the fridge for up to a week.
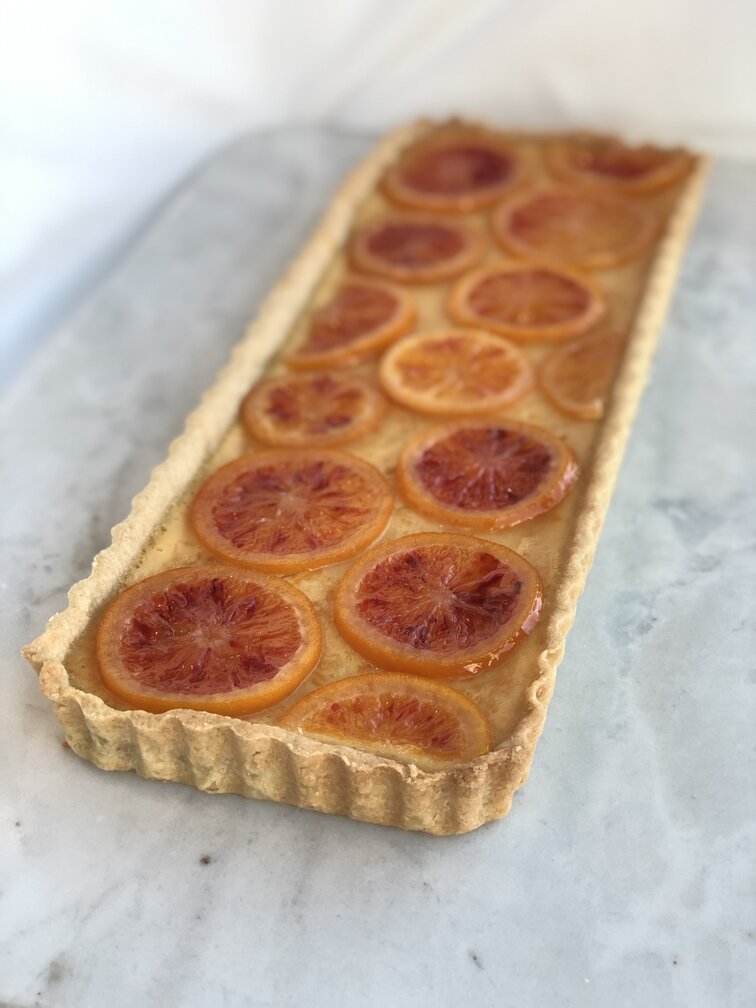
This is the perfect tart to brighten up a dreary January or February day. I decorated the tart with candied blood orange slices, an elegant touch for a special occasion. Serves 6-8
Blood Orange Custard Tart
Ingredients
For the pasty:
225g plain flour, plus extra to dust
25g icing sugar
125g chilled butter, cubed
2 medium free-range egg yolks (1 to add to the pastry, 1 to seal the pastry
when blind baking)
1 tbsp of water
For the filling:
4 free range eggs
135g caster sugar
150ml double cream
Zest from 4 blood oranges
250ml strained blood orange juice
Equipment:
John Lewis & Partners Professional Non-Stick Fluted Tarte Maison Tin, L35cm, greased with butter
John Lewis & Partners Professional Non-Stick Baking Sheet, Large
Magimix BlenderMix Food Processor
Method
For the pastry put the flour, icing sugar and a pinch of salt in the bowl of the food processor and pulse for a few seconds. Add the cubed butter and pulse again until the mixture looks like breadcrumbs. Mix the egg yolk with the tablespoon of water and add to the bowl, making sure to distribute it around the bowl, rather than pouring it onto one spot. Pulse again briefly to distribute the moisture. Add a few more drops of water if required.
Taking the blade out first, I like to bring the clumps of dough together in the bowl first with my hands, before transferring to a lightly floured work surface. Knead lightly to get a consistent dough and shape into a small flat rectangle shape. Wrap well in cling film and chill for at least half an hour.
Roll out the rested pastry, between two lengths of cling film, to the thickness of a pound coin. Use the base of the tart tin as a guide. Line the greased tin with the pastry, gently moulding the pastry to the fluted sides of the tin. Trim off any excess pastry and keep to one side in case you need to patch up any cracks later. Prick the base with a fork, cover and leave to rest in the fridge for another 30 minutes.
Preheat the oven to 200 °C/180 °C fan/Gas mark 6. Place the baking sheet on the middle shelf to preheat.
Meanwhile make the filling. In a large bowl, add the eggs, sugar, cream and the strained blood orange juice and whisk to combine. Pass through a sieve into a measuring jug. Add the blood orange zest and mix well.
The pastry will be blind baked, this will prevent the filling from making the pastry soggy. Scrunch up a sheet of baking paper and place this over the pastry, lining the tin. Fill with baking beans, place on the preheated baking sheet and bake for about 15 minutes. Remove the baking paper and baking beans. Mix the egg yolk with 1 tablespoon of water. Gently brush the pastry with the beaten egg yolk and return to the oven to bake for a further 5-6 minutes. Remove from the oven.
Reduce the temperature to 140 °C /120 °C fan/Gas mark 1.
Whisk the filling briefly again. Once the temperature has adjusted, return the tart tin to the oven. Pour the blood orange mixture into the pastry case and bake for 35-45 minutes until the filling is just set, it should have a faint wobble.
Leave to cool on a wire rack. Carefully remove the tart from the tin and transfer to a serving dish. Decorate with candied blood orange slices and serve.


You must be logged in to post a comment.